By The Little Mulberry Project
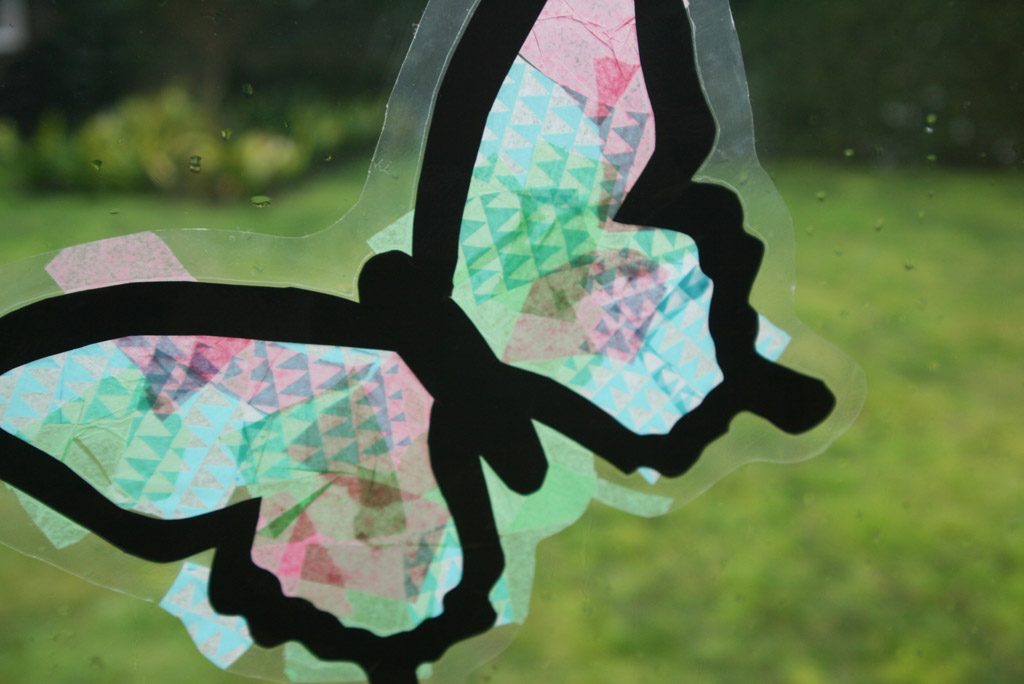
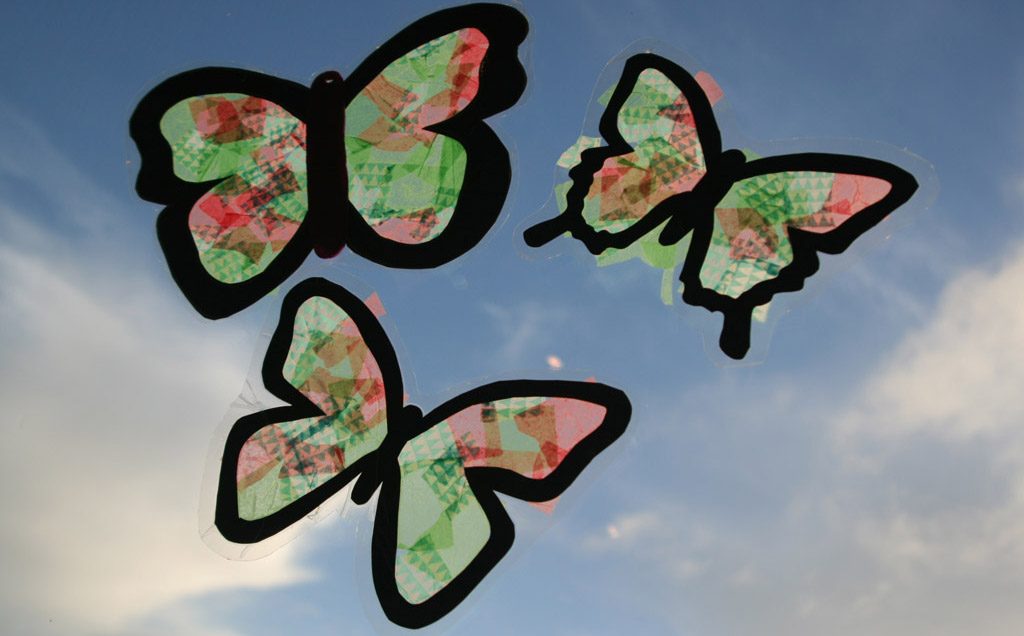
These homemade stained-glass windows are delightfully fun to make, encourage fine motor skills and explore little people’s natural fascination with light and colour.
Light focuses attention on colour and form and these stained-glass windows allow exploration of the mixing of colours, the overlapping of colours and the difference between transparent and opaque materials.
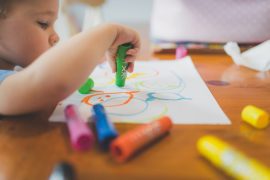
Tearing (and cutting for bigger little people) the delicate tissue paper is also a great chance to practice some fine motor skills.
Butterflies have been a sweet source of fun and inspiration this year for my little ones – the beloved The Very Hungry Caterpillar book; memorable visits to Butterfly Creek; and watching our little swan plant foster a home for some majestic monarchs – they are the perfect muse for this little light inspired craft.
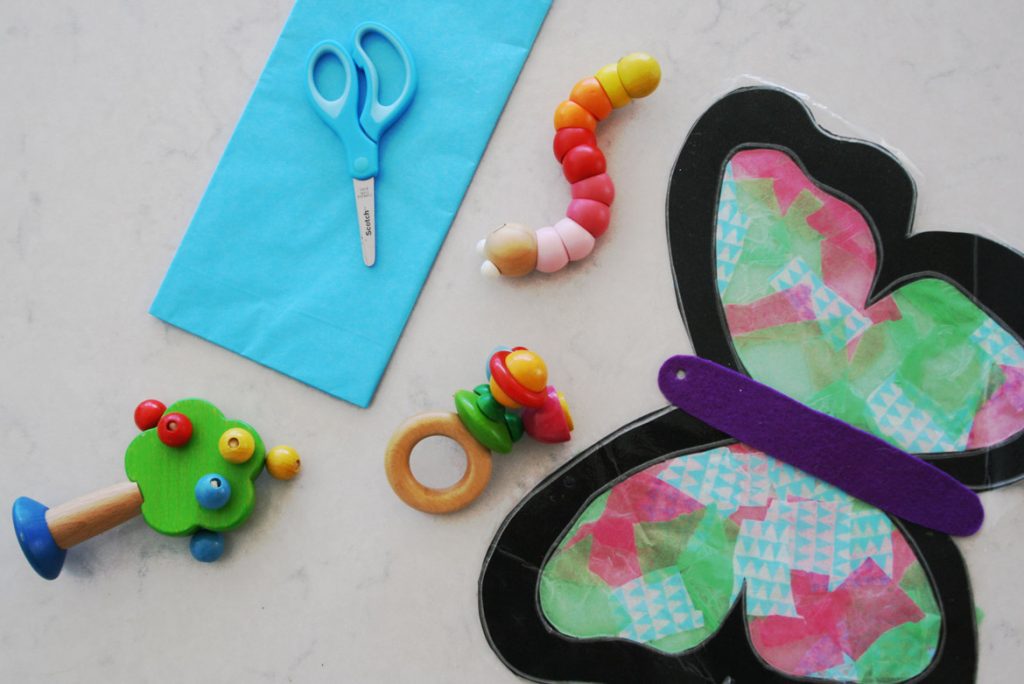
MATERIALS
- Black Cardboard
- Duraseal contact clear (book cover) paper
- Tissue Paper
CREATIVE PROCESS
- Find a butterfly design that you like (Pinterest has great examples).
- Trace or sketch outline onto black cardboard and cut out silhouettes and inside wings (leaving at least 1/2 inch border).
- Place silhouettes onto contact paper.
- Let little hands cut or tear up small pieces of tissue paper and apply to contact paper inside the butterfly wings.
- Once wing fully covered, place another sheet of contact paper over the top and cut around butterfly (leaving 1/2 inch sealed edge).
- Hang on window and enjoy the enchanting lights, shapes and colours!
The Little Mulberry Project is a virtual scrapbook created by a stay-at-home mum of two adorable girls full of their creative crafty projects, adventures and explorations. For more creative inspiration check out their Website or follow them on Instagram.