By Nicola Galloway
Nicola Galloway talks about her summer garden and kitchen, featuring how to grow and prepare beetroot.
In the garden
Summer is a time of growth and expansion, the long daylight hours ideal for growth. Our spring plantings will be paying off then with salad greens, beetroot, peas, beans, cherry tomatoes, zucchini, and more on the way. The garden is mulched with pea straw to help retain moisture during the drier months of summer. The mulch will also keep the weeds down, as they will compete with the growing plants for nutrients.
The important thing with home gardening is to nurture the health of the soil. In our garden we are constantly feeding the soil, as we healthy soil equals healthy produce. This includes organic compost, seaweed (left out in the rain to rinse off the salt water), untreated sawdust, worm juice, organic fish fertiliser, comfrey fertiliser, blood and bone, dolomite lime, horse manure, crushed eggshells (for calcium – crush dried shells in a mortar and pestle until fine) and more.
Growing beetroot
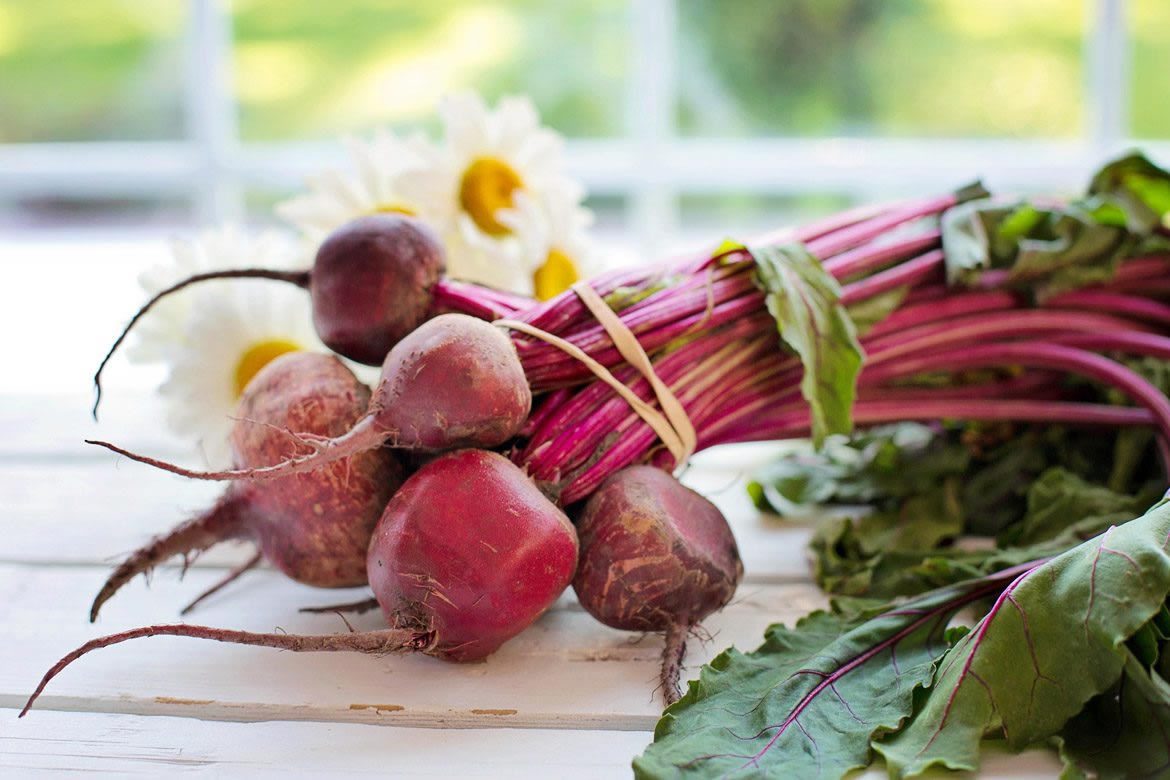
A regular item we grow in the garden is beetroot. It is relatively easy to grow and can be grown most of the year around in most locations. Beetroot doesn’t need a lot of space so can be grown in a small garden area and is an ideal food as you can use the whole plant – the root for roasting and grating into salads, and the leaves as you would spinach or silver beet.
To grow:
Plant beetroot seeds directly into well-composted soil. Sow seeds 10cm apart to a depth of 1½ times the seed size – about 5mm. Cover with extra soil patting down to even the surface and water well. Now leave nature to do what it does best. Fertilise fortnightly with organic fertiliser or worm juice (see box).
Harvest beetroot once the roots reach the size of tennis balls. You can check the size by gently feeling around the base of the leaves. Mound up the soil if the roots start to push their way through the soil before they are full sized. Once harvested wash to remove soil and cut off the leaves. Ideally use straight away or store in a plastic bag in the fridge to keep fresh until ready to use. The leaves will last 3-4 days while the root can be stored for several weeks.
Make a worm farm
A worm farm is easy to run and provides loads of nutritious garden fertilizer. You can buy worm farms from garden centres or make your own with tyres.
You will need:
- 4 tyres – often free from tyre stores or recycling centres
- approx 20cm bricks or blocks to hold the tyres off the ground
- 40cm square piece of chicken mesh and cardboard
- container to collect the worm juice – a vegetable draw from an old fridge works well – again available from recycling centres
- lid to cover and rock to hold in place to keep out wildlife
- about 1000 worms available from a friends worm farm or try a community garden – if you don’t feel like counting them this is about 2/3 an ice cream container.
To assemble:
– On even ground in a shady spot arrange the blocks. Place the chicken mesh then cardboard on top hold in place with 1 tyre. Mix the worms with some organic compost and tip this into the tyre. Add some kitchen waste, cover and leave the worms to feast. Keep adding kitchen waste, over time this will accumulate so add extra tyres until you have a stack of 4.
NB – worms don’t like onions or citrus so don’t add to the worm farm.
– Position the container under the worm farm where it will collect the worm juice. Use this to fertilise the garden by diluting with water 1:20 in a watering can.
– Every month roughly shred a newspaper and add to the worm farm to absorb excess moisture. And a handful of dolomite/lime every few months helps with the breakdown process and to keep the acid alkaline balance in check.
Every 6 months or so remove the bottom tyre as the worms will have worked their way up. The resulting ‘worm castings’ are full of nutrients for the garden. Combine with organic compost and add to the garden when planting or preparing a garden bed.
In the kitchen…
It is warm and sunny and we are preparing fresh salads and summer fruits from the garden everyday. In our kitchen we prefer to use ingredients not packets. Though, this doesn’t mean we spend hours in the kitchen preparing everything from scratch. We are a busy family so keep food simple and fresh, using quality ingredients.
This season I am featuring beetroot as it is easy to grow, and also versatile in the kitchen. It can be roasted, grated raw in salads, mashed into baking, and more. The deep red/purple colour of beetroot is an indication of its high nutrient content. It is an excellent source of non-haem (plant-based) iron. Non-haem iron isn’t assimilated as easily as haem iron (from meat). Combined with vitamin C rich foods will assist with the absorption of non-haem iron. All raw fruit and vegetables provide vitamin C in particular tomatoes, capsicums, citrus and kiwifruit.
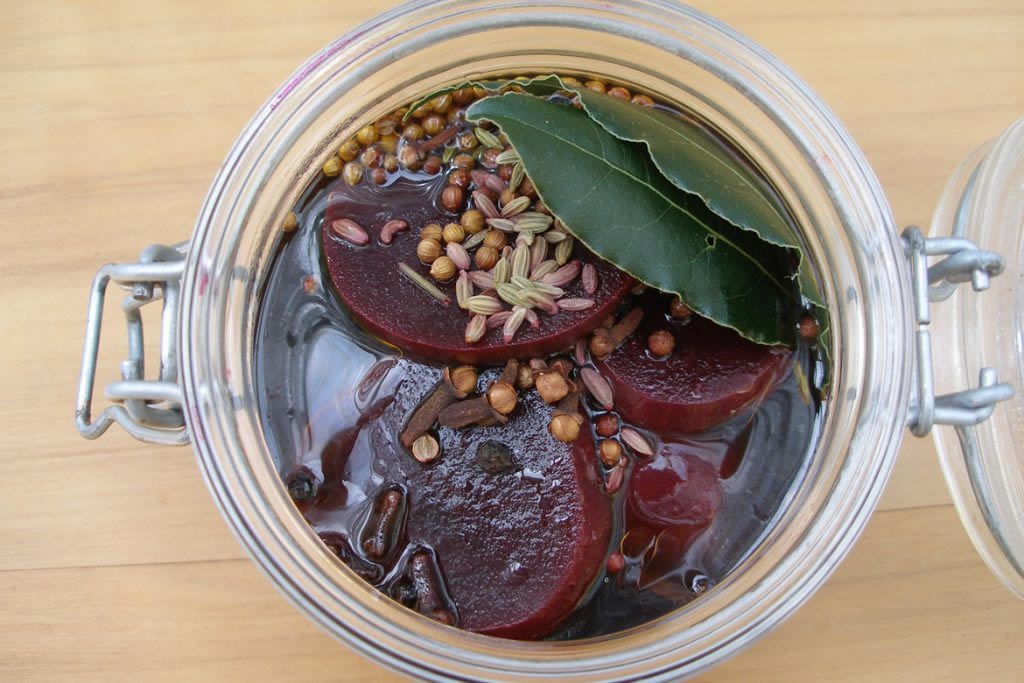
See next pages for recipes: marinated beets, roast beetroot salad, beetroot and yoghurt salad, and chocolate beetroot brownie!

